

"I have ordered a few different times from these company and they are great every time!! Great people, great products and great price."
Mike Every, Filmlaab
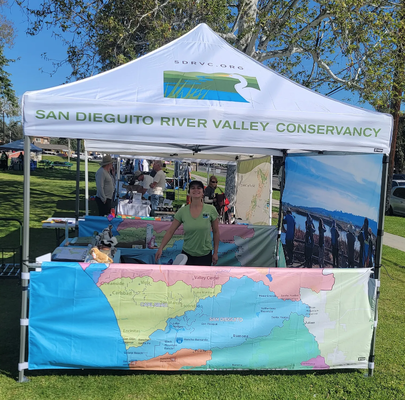
"We LOVE our custom canopy from STRIKE! Customer service is great and the artwork came out very clear. Great quality."
Kim Rogers, San Dieguito River Valley Conservancy
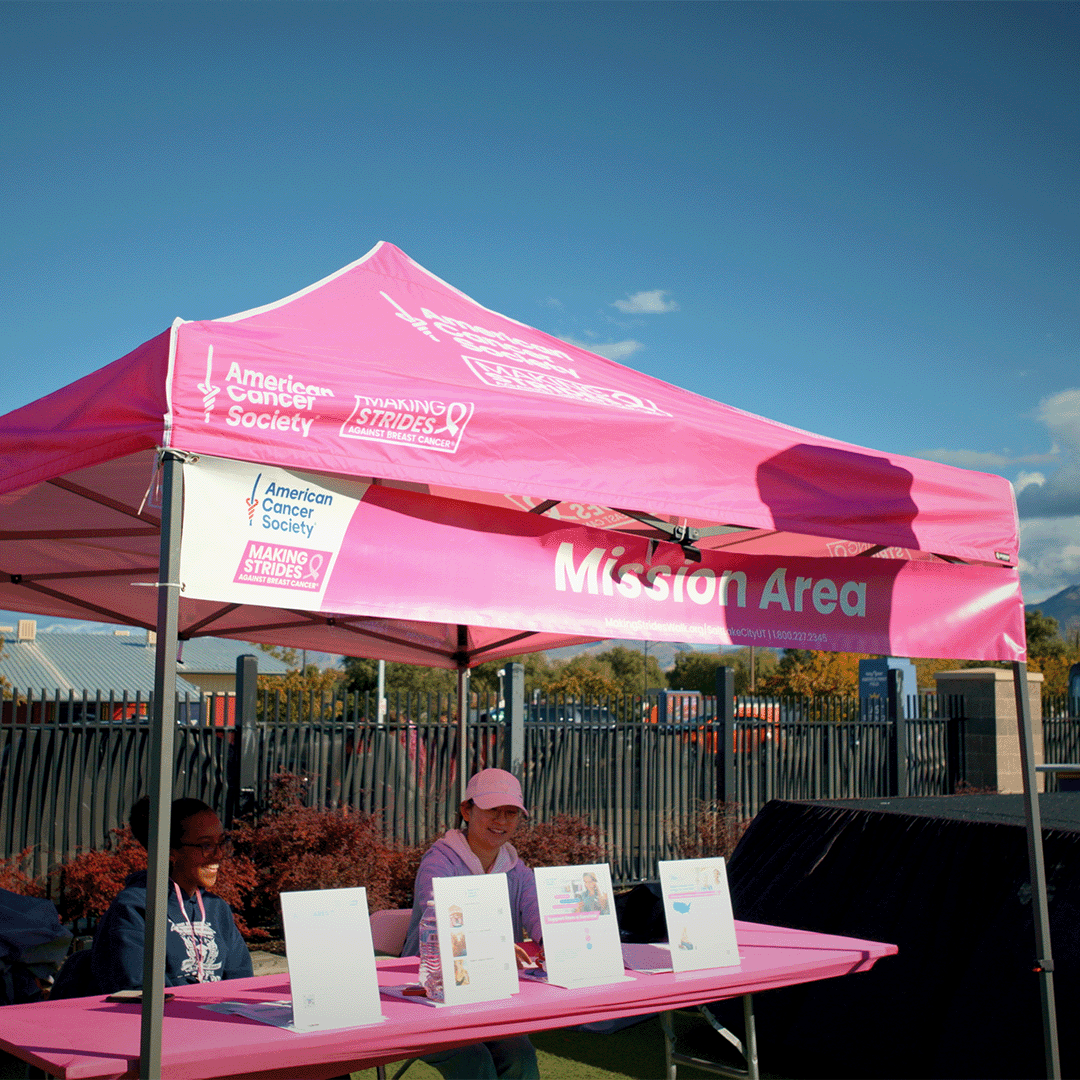
"I have purchased several items with Strike (tents, banners and flags) and all have been exceptional quality. Customer service is top notch as well."
Laura Eicher, American Cancer Society
